
Stiffness the worst of us, happens to the best of us. Maybe you wake up with a pain in your neck, worked for too many hours steering your neck to a laptop or even feel like your joints need oiling today! While it may seem counterintuitive to move when you are feeling rigid, gentle movement is often just what the body needs to reset.
You don’t have to make yourself a pretzel to feel better. In fact, aggressive stretching may backfire sometimes, depending on the coldness or tension in your muscles. The secret is gentle movement – consistent gentle movement signals safety to your nervous system and your muscles naturally relax.
This guide investigates seven accessible yoga poses that will help to melt away tension and safely increase your range of motion. Whether you are a complete beginner or just need a recovery day routine, these movements will help you to reconnect with your body.
Why Gentle Yoga is Ideal for Stiffness
When we are feeling stiff our instinct is often to stay still. However inactivity in fact can cause even more inflammation and tighter connective tissue. Gentle yoga is a different way than high-intensity exercise. It involves slow and controlled movements and deep breathing. This combination boosts blood flow to constricted regions, provides lubrication for the joints with synovial fluid, and turns on your parasympathetic nervous system rejuvenating you in “rest and digest” mode.
Flexibility is not about touching your toes but flexibility is about functional mobility-to move through your day easily and pain-free. By performing these poses on a regular basis, you can release the knots that are formed through daily stress and sedentary habits.
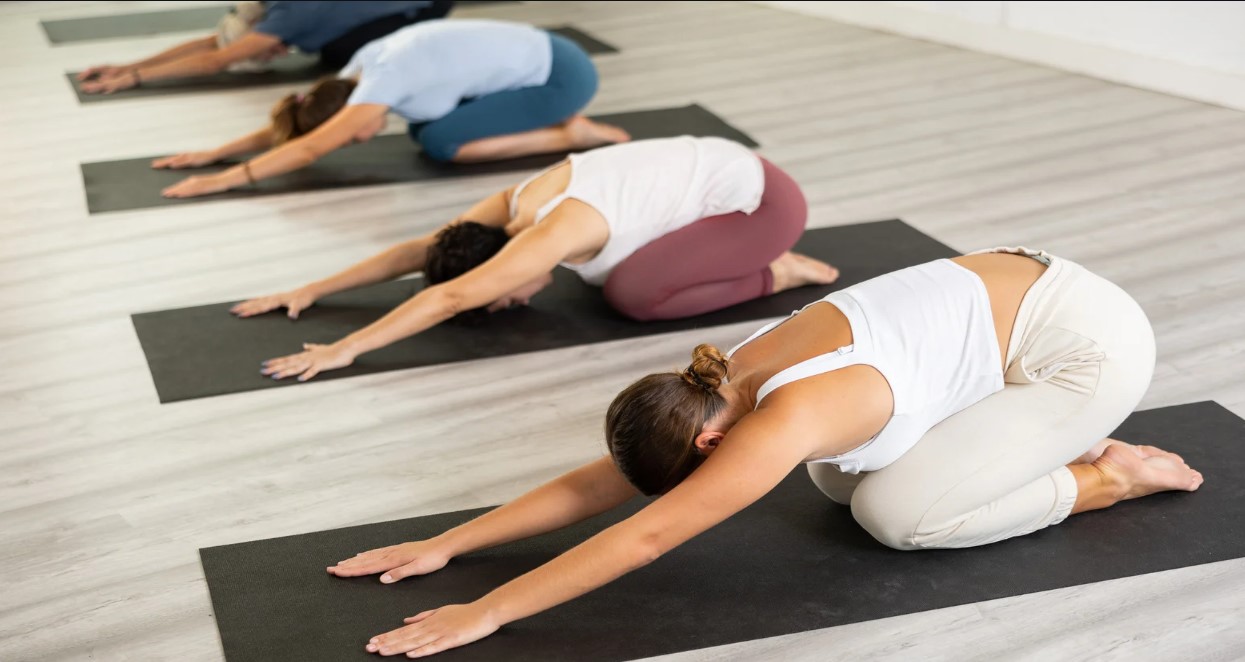
1. Child’s Pose (Balasana)
This is the quintessential resting position in yoga. It helps to gently stretch the lower back, hips, thighs and ankles, and helps to calm the brain and take away stress. It’s a great place to start because you need no balance and can tune into your breath immediately.
How to do it safely:
- Start on your hands and knees. Bring your big toes together so that they touch and move your knees as far apart as your hips (or further if it feels better).
- Exhale and sink your hips down to your heels.
- Walk your hands forwards on the mat until your arms are completely extended.
- Rest your forehead gently on the floor. If your head is not reaching down to the ground comfortably, put a block or a folded blanket under your head.
- Breathe deeply in your back body by imaging that your spine is getting longer with each breath.
Why it helps:
By giving a compression to the front of the body whilst rounding the spine you gently open up for the lower-back muscles which are a common source of stiffness for many people.
2. Cat-Cow Stretch (Marjaryasana-Bitilasana)
If you feel like your spine is a flesh rod which doesn’t move at all, Cat-Cow is the remedy for you. This dynamic flow enhances the spine to flex and extend, warming the back muscles and coordinating movement with breath.
How to do it safely:
- Start in your hands and knees in a “tabletop” position. Be sure to keep your wrists directly beneath your shoulders and keep your knees beneath your hips.
- Cow Pose (Inhale): Pull your belly toward the floor, lift up and arch your chin, chest, head and eyes to the ceiling. Sago Broaden over and across your collarbones.
- Cat Pose (Exhale): Pull your belly button to your spine and make your back perfectly round towards the ceiling. Release your head to the floor but don’t jerk the chin to the chest.
- Repeat this cycle until you reach 1-2 minutes and move smoothly with your breath.
Why it helps:
This movement will massage the spine and abdominal organs as well as release tension from the neck and upper back. It is one of the safest ways of introducing mobility to the entire spinal column.
3. Downward Dog (Adho Mukasana)
While often considered a strengthening position, Downward Dog is mind-blowing in opening up the entire back side of the body, from your heels to your neck. To begin with, your focus should not be to make the legs straight, but instead to make the length in the spine.
How to do it safely:
- With your hands and knees down, tuck your toes in and lift your hips up and back.
- Spread your fingers out wide, and push firmly through your palms.
- Keep a lot of bend in your knees at first. This is important to reducing the stiffness of the hamstrings and lower back.
- Squeeze your chest into your thighs and allow your head to hang heavy between your arms.
- If you are open enough, you can escape slowly pedaling to the feet to press one of your heels to the floor, while bending the other knee.
Why it helps:
This inversion makes use of gravity to gently traction on the spine thus creating space between the vertebrae. It also gives a deep stretch to the hamstrings, calves and Achilles tendons.
4. Seated Forward Bend, Paschimottanasana
This is one pose that can be scary if you have tight hamstrings, but if done gently, is extremely soothing. The goal is not to grab your feet, but to increase the length of the spine and relax the posterior chain.
How to do it safely:
- Sit on the floor with both legs extended in front of you. If your lower back is rounding or you feel as though you are falling backwards, sit on the edge of a folded blanket to raise your hips.
- Inhale and make your spine as long as possible reaching the top of your head up.
- Exhale and bend from your hips (not your waist) to fold forward. Walk your hands along with your legs.
- Let your hands drop where they are most comfortable, on your shins, ankles or feet.
- Keep the knees soft if the feeling behind your legs is strong. Relax your neck muscles and shoulders.
Why it helps:
This pose stretches the spine, shoulders and hamstrings. It is also known as able to calm a busy mind and aid headaches and anxiety.
5. Butterfly Pose (Baddha Konasana)
Tightness of the hips is one of the biggest problems for a lower back pain. We carry a great deal of emotional and physical tension in our hip flexors and groyne. The Butterfly Pose provides a super gentle and gravity assisted way of opening this area.
check our our 200 hour yoga teacher training in bali
How to do it safely:
- Sit tall and bring the soles of your feet together so that your knees are falling apart to the sides.
- Slide your heels as close to your groin as it is comfortable. If you are having difficulty with your knees very high off the ground, use yoga blocks or pillows under each knee to help.
- Hold your feet or ankles. Inhale so that your spine gets longer.
- You can hold your body in an upright position or for a deeper stretch you can exhale and fold forward from your hips keeping your spine long.
Why it helps:
This shape is for the inner thighs and groins and knees. It helps the circulation in the pelvic area and is a fantastic counter-pose to the sitting in a chair all day scenario.
6. Reclining Twist (Supta Matsyendrasana)
Twists are excellent for bringing neutrality to the spine and wringing out tension. Doing this pose lying down will ensure that your spine will be supported by the floor so it becomes very safe for those with stiff backs.
How to do it safely:
- Lie on your back and squeeze in your knees up into your chest.
- Extend your arms out the sides like a T-shape, with the palms facing down or up.
- Slowly drop both knees to the right hand side. Try to keep your left shoulder on the floor.
- If your knees don’t touch the ground, put a pillow or block under it to support the knees.
- You can maintain the gaze upward to the ceiling or move your head to the left to do a nice neck stretching.
- Hold for several breaths, and then head back to center and switch sides.
Why it helps:
This pose eliminates tension in lower back muscles and the glutes. It helps with digestion and facilitates movement of the spine without experiencing the weight of gravity putting pressure on the bones.
7. Legs-Up-The-Wall Pose (Viparita Karani)
We conclude with the ego-restoring posture. This is a pose that takes little effort and offers huge benefits both in terms of circulation and relaxation. It is a favourite among people practising, whether they are beginners or graduates of advanced yoga teacher training in india.
How to do it safely:
- Sit sideways against a wall with one hip against the wall.
- Swing your legs up on the wall while at the same time lying down on the floor.
- Shift your position to have your buttocks as close to the wall as comfortable. If your hamstrings are tight, slide your hips a couple of inches from the wall.
- Have your arms down to the sides (paling up.) Close your eyes.
- Stay here for 5 to 10 minutes, allowing gravity to empty the tension from your legs and feet.
Why it helps:
This passively inverted leg relaxes the tired legs and feet, gently stretches the back of the legs and lower back and calms the nervous system well. It is the perfect way to end a gentle session, or wind down before bed.
Listening to Your Body
The most important rule in easing stiffness is to listen to signals from your body. Sensation is good; pain is a warning. If you have any sharp, shooting pain, back off immediately.
Consistency is key. Practicing these seven poses for only 15 minutes a few times a week will deliver greater results than one intense session once a month. As you practice, you will probably feel that your “stiff days” will be much less frequent and you’ll be much more flexible in general.
Start slow, breathe deep, and do what you can to take care of your body.
You Might Also Like

